At 11:45 am on Saturday, December 17, I decided that I would make a small table as a Christmas gift. I documented my process live on Twitter and what you see below are the updates. This was useful because each update had a time stamp so followers could see the rate at which I progressed.
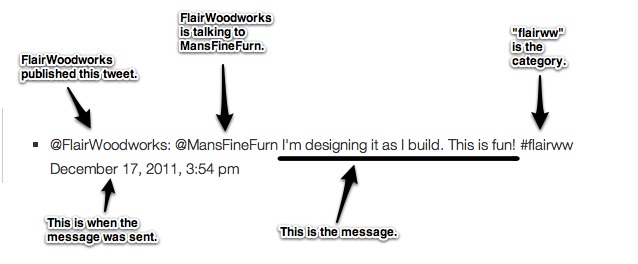
(If you are not familiar with the format used on Twitter, the @ symbol indicates a username. Every update, or “tweet” below starts with a username and they are the author of that tweet. Sometimes, you will see two or more usernames in a tweet. The second (and third, etc) usernames are people the author is talking to. The other symbol you will see is #, which serves as a category. I tried to remember to categorize all my tweets pertaining to this project under #flairww.)
Saturday, December 17: 5-1/2 hours
- @FlairWoodworks: I’m going to try to design and build a table today, starting right now. Follow along with hash tag #flairww
December 17, 2011, 11:48 am - @FlairWoodworks: The first step will be to find some cool wood. #flairww
December 17, 2011, 11:48 am - @FlairWoodworks: This odd piece looks to be the right height for legs. I’m thinking pedestal. #flairww
December 17, 2011, 11:51 am
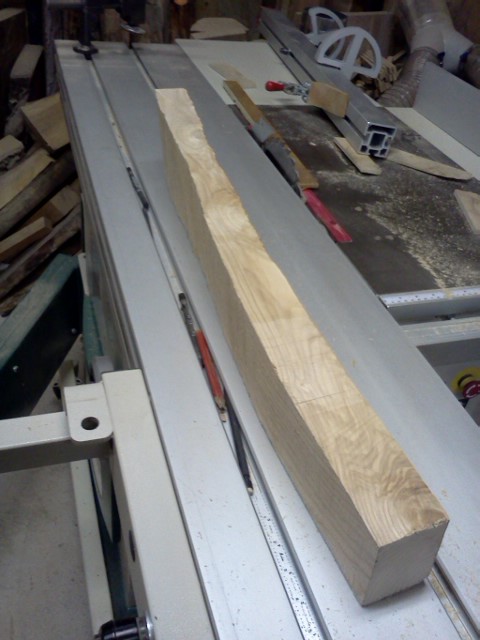
- @gvmcmillan: @FlairWoodworks Good luck cutting that safely!
December 17, 2011, 11:54 am - @FlairWoodworks: Smoothing the power-carved surfaces with a hand plane.
December 17, 2011, 12:24 pm

- @FlairWoodworks: I’d like to use this piece for the base and top of the table. #flairww (I later changed my mind and used the part marked “BASE” for the top and vise-versa.)
December 17, 2011, 12:46 pm
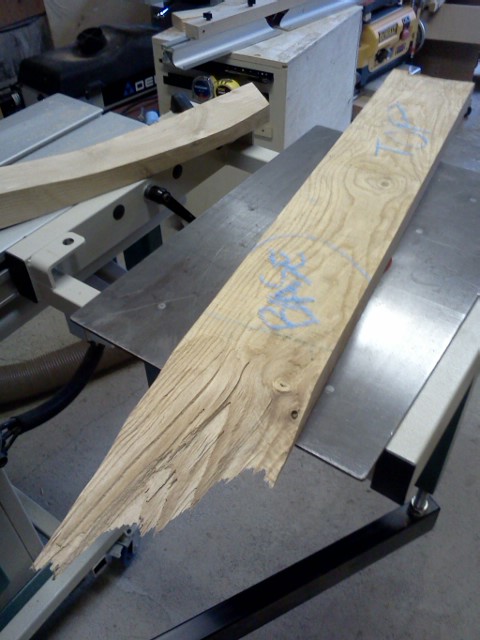
- @FlairWoodworks: You didn’t think this was going to be just another table, did you? #flairww
December 17, 2011, 12:48 pm - @FlairWoodworks: I cut a clean surface on the end of the leg with my sliding tablesaw. How would you do this? #flairww
December 17, 2011, 1:07 pm

- @Tumblewood: @FlairWoodworks I’d have done something similar with my Excalibur sliding table. #Flairww
December 17, 2011, 1:15 pm - @BobbyHagstrom: @FlairWoodworks Probably with a sled as I don’t have a sliding T-saw :( hehe… I’ve done stuff like that freehand-lots o’ clean up #flairww
December 17, 2011, 1:20 pm - @FlairWoodworks: I need to glue two pieces together to make a wide, more stable base. Note the chalk alignment lines.
December 17, 2011, 1:32 pm
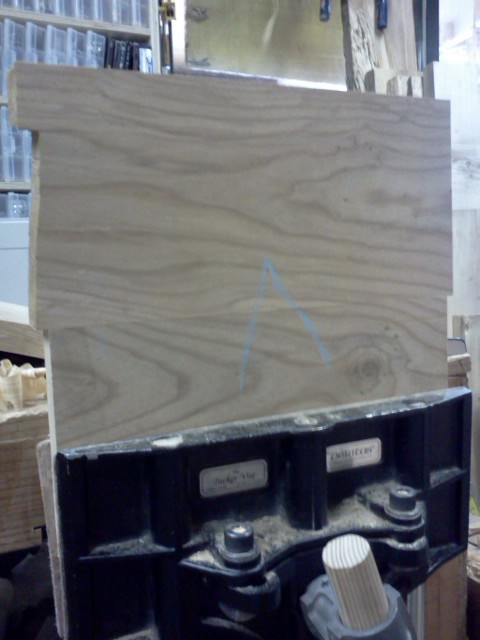
- @Tumblewood: @FlairWoodworks Nice grain alignment. #Flairww
December 17, 2011, 1:37 pm - @FlairWoodworks: Come on, glue. Hurry up and dry! #flairww
December 17, 2011, 1:48 pm - @MansFineFurn: @FlairWoodworks ash?
December 17, 2011, 1:51 pm - @FlairWoodworks: @MansFineFurn Ash!
December 17, 2011, 1:51 pm - @gvmcmillan: @FlairWoodworks Without a sliding table saw, I would have used my compound miter chop saw. #flairww
December 17, 2011, 1:53 pm - @FlairWoodworks: Lunchtime! The glue ought to be dry enough to continue work when I return. #flairww
December 17, 2011, 2:21 pm - @FlairWoodworks: Any questions so far? #flairww
December 17, 2011, 2:24 pm - @FlairWoodworks: Lunch is done and the glue dry enough to flatten the table’s base.
December 17, 2011, 3:03 pm
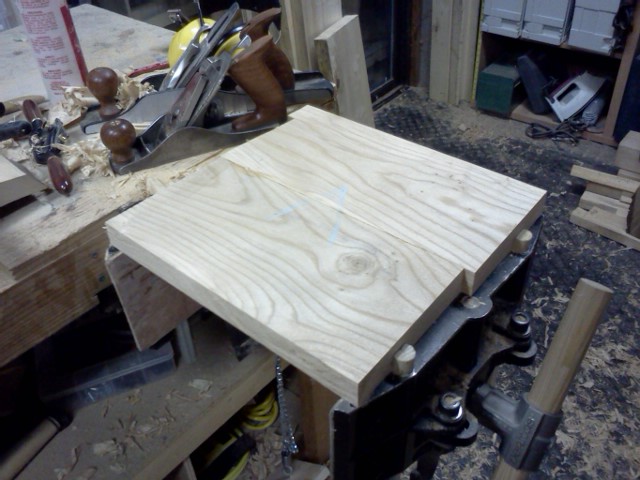
- @FlairWoodworks: I need to cut a notch in the upright (leg) to receive the top. This is probably the most challenging part.
December 17, 2011, 3:48 pm

- @MansFineFurn: @FlairWoodworks are you winging it or do you have a design?
December 17, 2011, 3:51 pm - @FlairWoodworks: With a saw cut to establish each shoulder, I use a chisel and mallet to clear the waste.
December 17, 2011, 3:53 pm
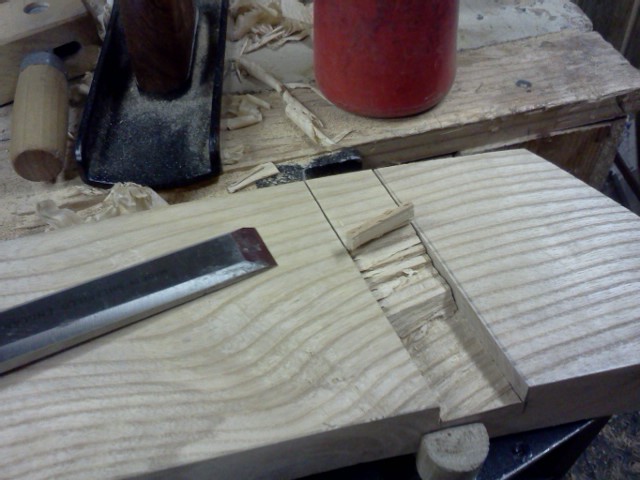
- @FlairWoodworks: @MansFineFurn I’m designing it as I build. This is fun! #flairww
December 17, 2011, 3:54 pm - @FlairWoodworks: I used my side rabbet plane to clean up the sawed surfaces and adjust the angle.
December 17, 2011, 4:00 pm
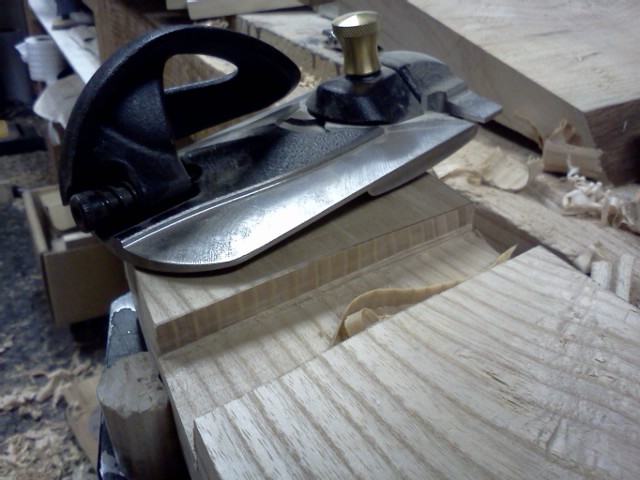
- @FlairWoodworks: That’s a good fit! #flairww
December 17, 2011, 4:12 pm

- @FlairWoodworks: Here’s the other side of the joint. #flairww
December 17, 2011, 4:13 pm
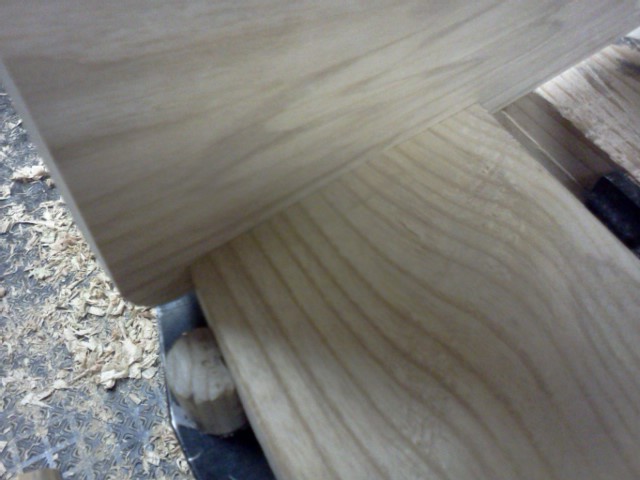
- @TheGravedigger: @FlairWoodworks That did well.
December 17, 2011, 4:14 pm - @FlairWoodworks: The top looks too thick so I’m going to taper it out towards the edge. I tilted my bandsaw table for this cut.
December 17, 2011, 4:22 pm
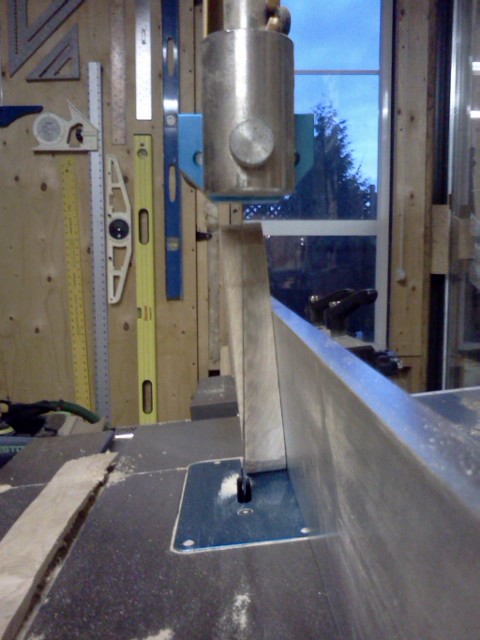
- @FlairWoodworks: The bandsawn surface is pretty flat. The burn marks are from when I hesitated feeding the board.
December 17, 2011, 4:25 pm
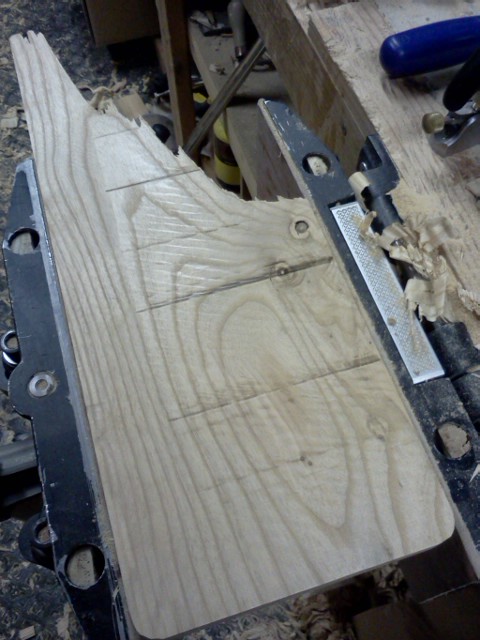
- @FlairWoodworks: A few minutes with a handplane removed the milling and burn marks and reestablished a flat top.
December 17, 2011, 4:28 pm
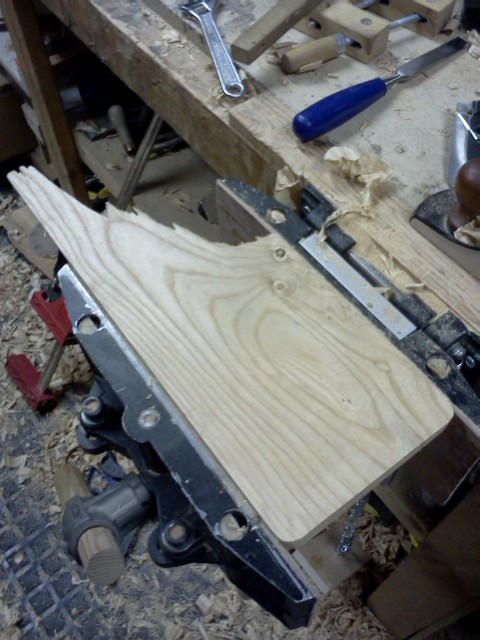
- @FlairWoodworks: The upright is secured to the upright with a pair of long lag bolts.
December 17, 2011, 4:43 pm
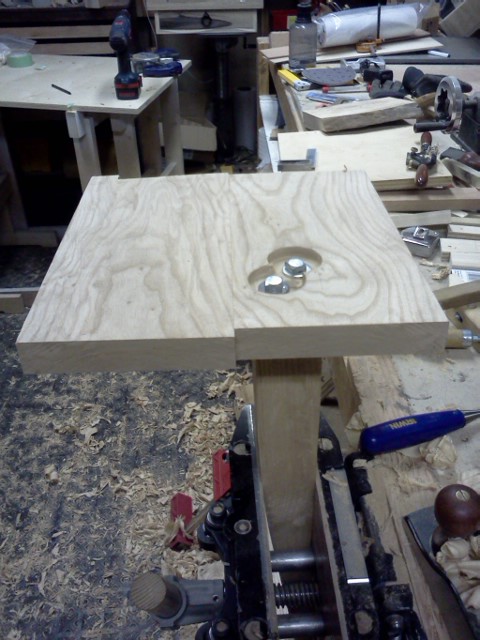
- @FlairWoodworks: Sorry I’ve been forgetting to add the #flairww tag.
December 17, 2011, 4:44 pm - @sharpendwood: @FlairWoodworks Cool idea, enjoying watching your progress.
December 17, 2011, 4:57 pm - @FlairWoodworks: @sharpendwood Well, sculpting is the next step. I will wait until daylight before using my angle grinder to carve the upright. #flairww
December 17, 2011, 5:13 pm
Sunday December 18: 3-1/2 hours
- @FlairWoodworks: After I finish lunch, I’ll be back in the shop working on the table I started yesterday. Follow along with #flairww
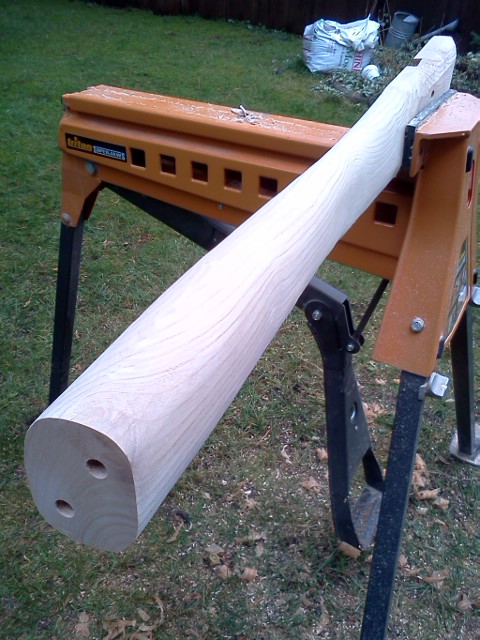
December 18, 2011, 11:55 am - @FlairWoodworks: I’m using my angle grinder to sculpt the table’s upright. #flairww
December 18, 2011, 12:20 pm

- @FlairWoodworks: Smoothing out the rough-carved surface is going quickly with 80-grit on my Mirka CEROS random orbit sander.
December 18, 2011, 8:44 pm
- @ArtsConnectBC: RT @flairwoodworks: After I finish lunch, I’ll be back in the shop working on the table I started yesterday. Follow along with #flairww
December 18, 2011, 1:02 pm - @FlairWoodworks: Preliminary sanding with 80-grit is done. Now on to fine grits. #flairww
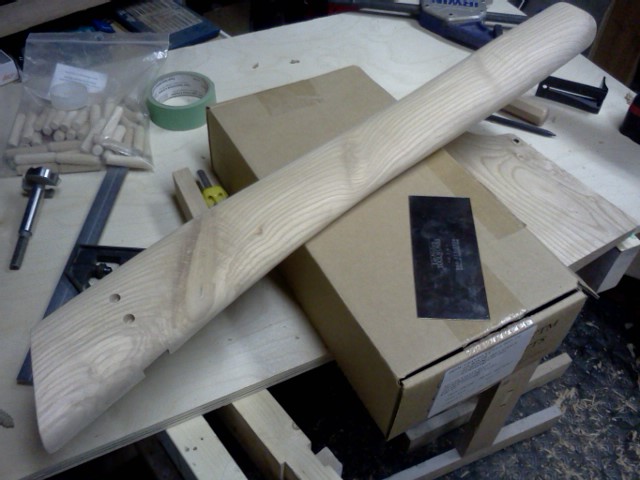
December 18, 2011, 1:02 pm - @FlairWoodworks: The upright has been sanded to 180-grit. I’ll finish sand the top now.
December 18, 2011, 9:21 pm
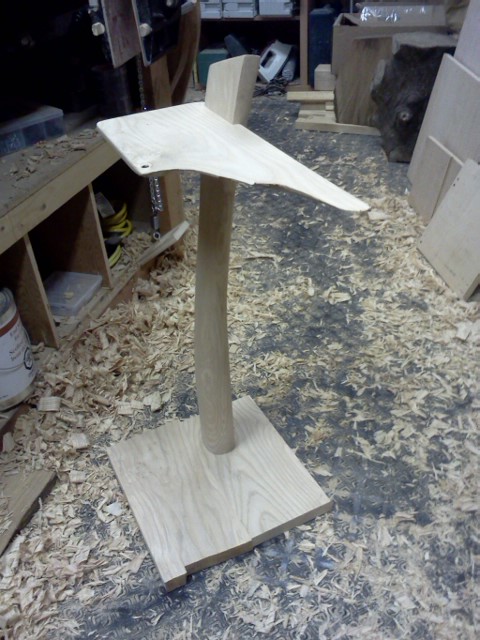
- @FlairWoodworks: Here’s the table assembled. I just need to shape the base. #flairww
December 18, 2011, 2:01 pm
-
@woodbard: @FlairWoodworks Right, Chris. I look forward to *yours*, though. I like what I see, but cannot imagine what the hole’s function is.
December 18, 2011, 2:12 pm - @FlairWoodworks: @woodbard hole? You mean the pencil holder? :) (It’s actually just a knot hole.)
December 18, 2011, 2:13 pm
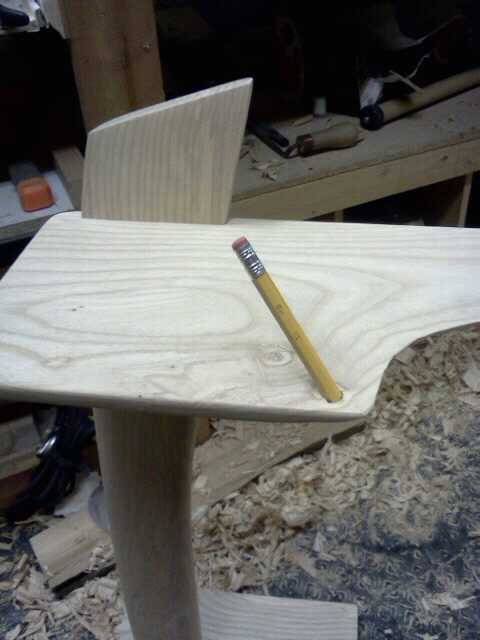
- @woodbard: @FlairWoodworks I knew the hole would be a critical part of that table. Thanks!
December 18, 2011, 2:23 pm - @Tumblewood: @FlairWoodworks Pretty darn cool, Chris!!
December 18, 2011, 2:29 pm - @FlairWoodworks: In classic Chris fashion, I carved the edges of the base to follow the grain. #flairww
December 18, 2011, 2:43 pm

- @DyamiPlotke: @FlairWoodworks looks good, Chris.
December 18, 2011, 10:53 pm - @FlairWoodworks: I plugged the screw holes. Can you see them? #flairww
December 18, 2011, 3:06 pm
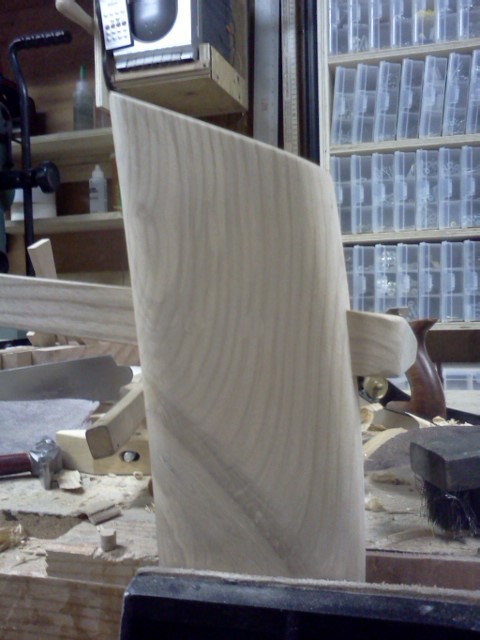
- @woodbard: @FlairWoodworks Juuuussssttt barely, and ONLY with image blown up,Chris. Wonderful job matching the grain with the plugs!!! #flairww
December 18, 2011, 3:09 pm - @FlairWoodworks: Time for a final inspection before the application of the finish. #flairww
December 18, 2011, 3:11 pm - @JC_McGrath: @FlairWoodworks barely for sure, excellent match
December 18, 2011, 3:12 pm - @FlairWoodworks: Here is the table with one coat of lacquer. I’ll give it a light sanding followed by a couple more coats. #flairww
December 18, 2011, 3:27 pm

- @ed_elizondo: @FlairWoodworks That durn good work.
December 18, 2011, 3:31 pm - @FlairWoodworks: Lacquer and shellac are my two preferences when I need a quick-drying finish. #flairww
December 18, 2011, 3:31 pm - @DyamiPlotke: @FlairWoodworks just faintly. Would have missed them if I wasn’t specifically looking. Well done.
December 18, 2011, 3:52 pm - @HighRockWW: @FlairWoodworks cool table Chris, I like it.
December 19, 2011, 4:37 pm - @Tooltutor: @FlairWoodworks that’s a sweet table! Can’t even see the plugs.
December 19, 2011, 6:38 pm
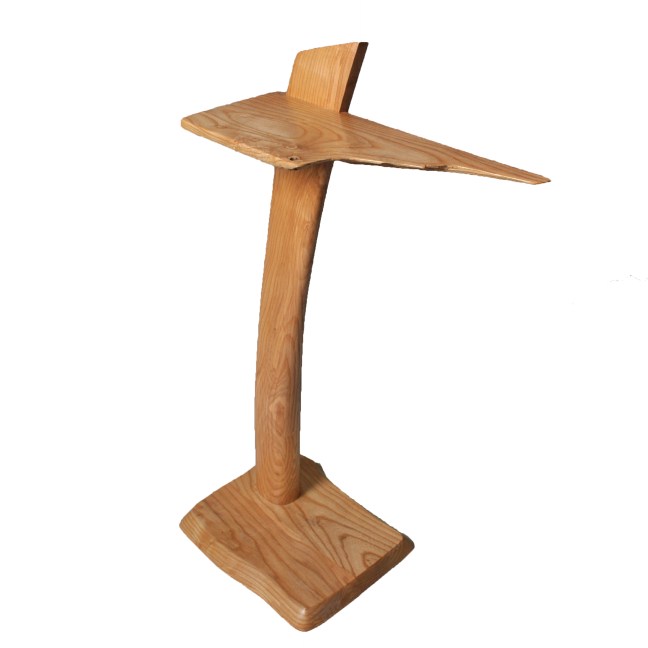
Some Pictures of the Completed Table


Your Feedback is Appreciated!
What did you think of this Tweet Along? Would you like to see more? Please leave your thoughts about the project, process, and method of documentation below in the comments section.


Very nice looking table.
Great idea Chris! Love this tweet along format and the table is outstanding. Way to embrace the natural form of the wood.
Chris,
I was impressed at the time, and remain so both with the process, the communication, and the product. Still inspired by the speed, the artistry and the use of twitter which allowed the slower, less artistic among us to live vicariously! Looking forward to the next one!
I really enjoyed this. I think your process was well documented.
Very good way to show how the table came into being.I don’t think videos could do it any better.thanks for sharing.